We are excited to announce the release of our new feature, Custom Templates, which allows you to create their own AI writing templates and tailor their input fields to fit their needs.
With this new feature, you will no longer have to repeat the same AI prompts when interacting with ZenoChat, thus making the process of generating content much more efficient and personalized.
Get Started with Custom Templates
Creating a custom template is easy.
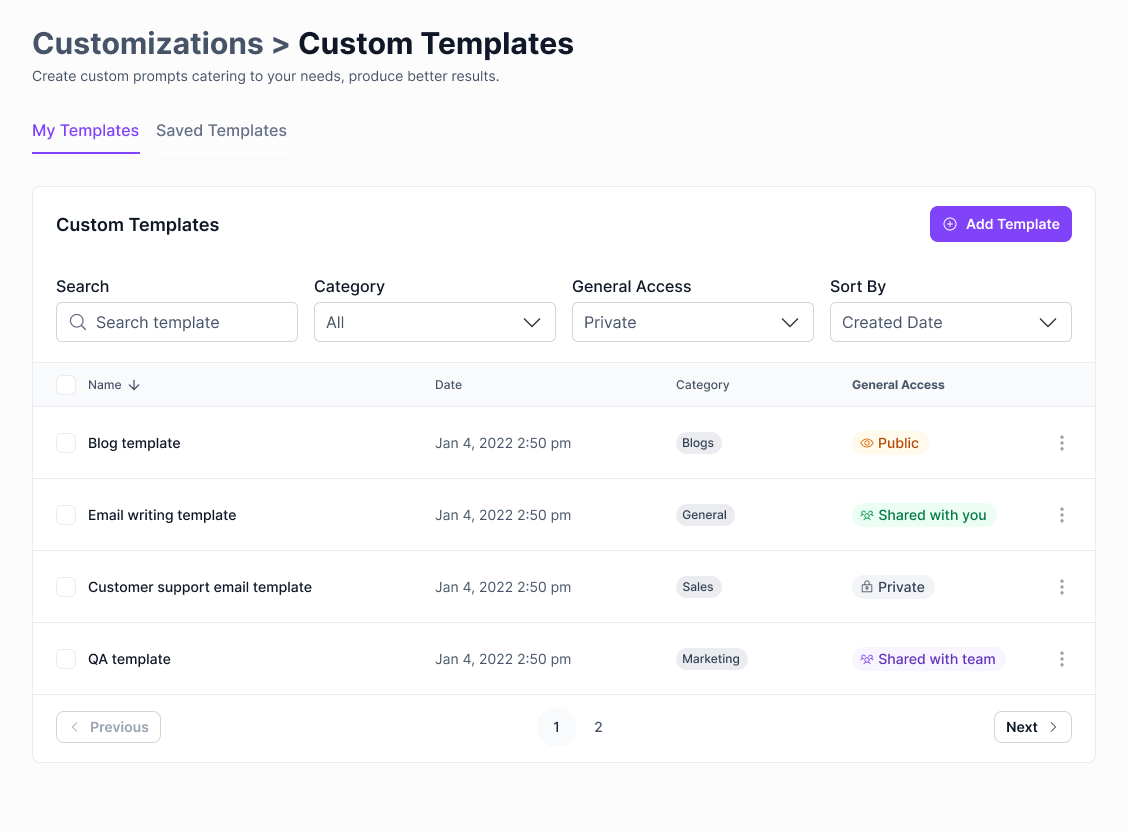
1. Simply navigate to the "Custom Templates" tab under Customizations
2. Click on "Create Template".
From there, you'll need to fill out some basic information, such as the name and description of your template, but the most important aspect of your template is the "Template Prompt".
Template Prompt is the pre-built recipe for your template to work. You'll define what your AI should do, how it should do it, and provide some dynamic input fields that can be filled out later by the user.
Custom Template Example
For example, let's say you want to create a "Caption Generator" template for your social media posts. Your Template might look like this:
- Template Name: Caption Generator
- Template Description: This template is used to create social media captions for posts.
- Template Prompt: Act as a caption generator for social media posts. Create a social media caption for [Topic Name] and make sure to write the caption in a [Tone] way for [Target Audience].
The inputs in square brackets mean that they are dynamic input fields that can be filled in every time you start a new interaction with this template.
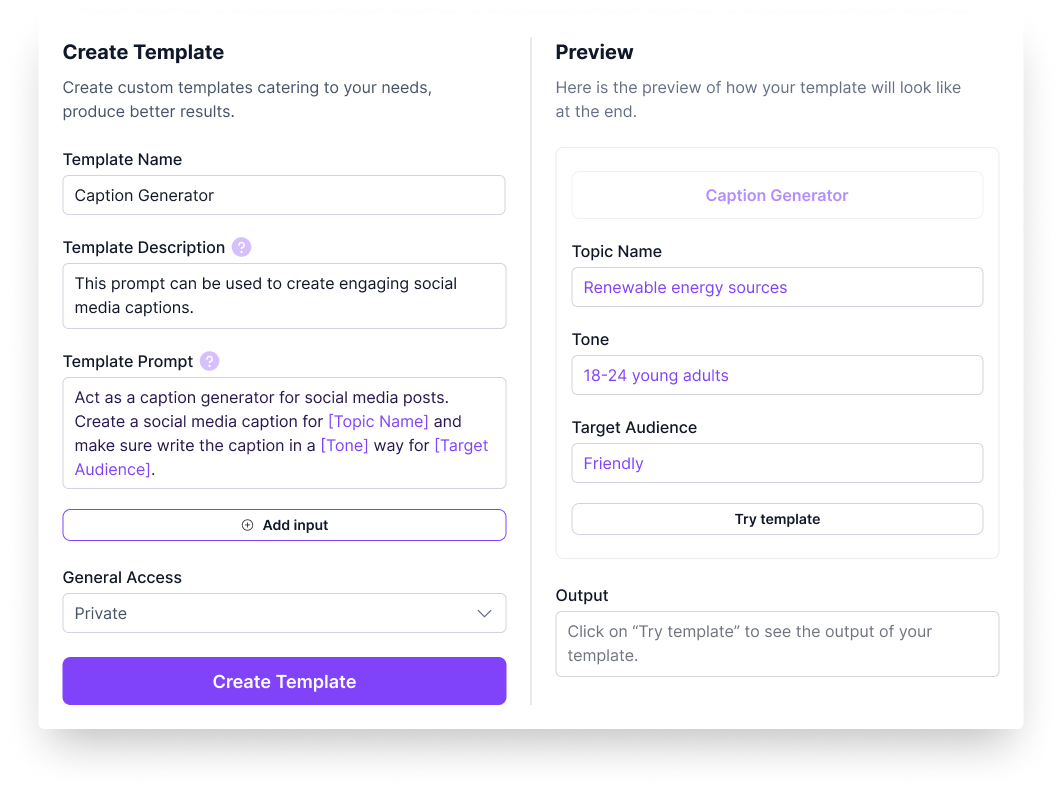
As you start configuring your template, you'll see that the "Preview" modal adapts in real-time, allowing you to test how it performs based on your prompt and provided inputs.
Once you're done with your custom template, make sure to configure the "General Access" settings, whether you want to keep it private or shared. You can also edit these fields later on in your Custom Template Library.
Custom Templates in Action & Marketplace
Now that you've created your custom template, let's apply it to a real life case.
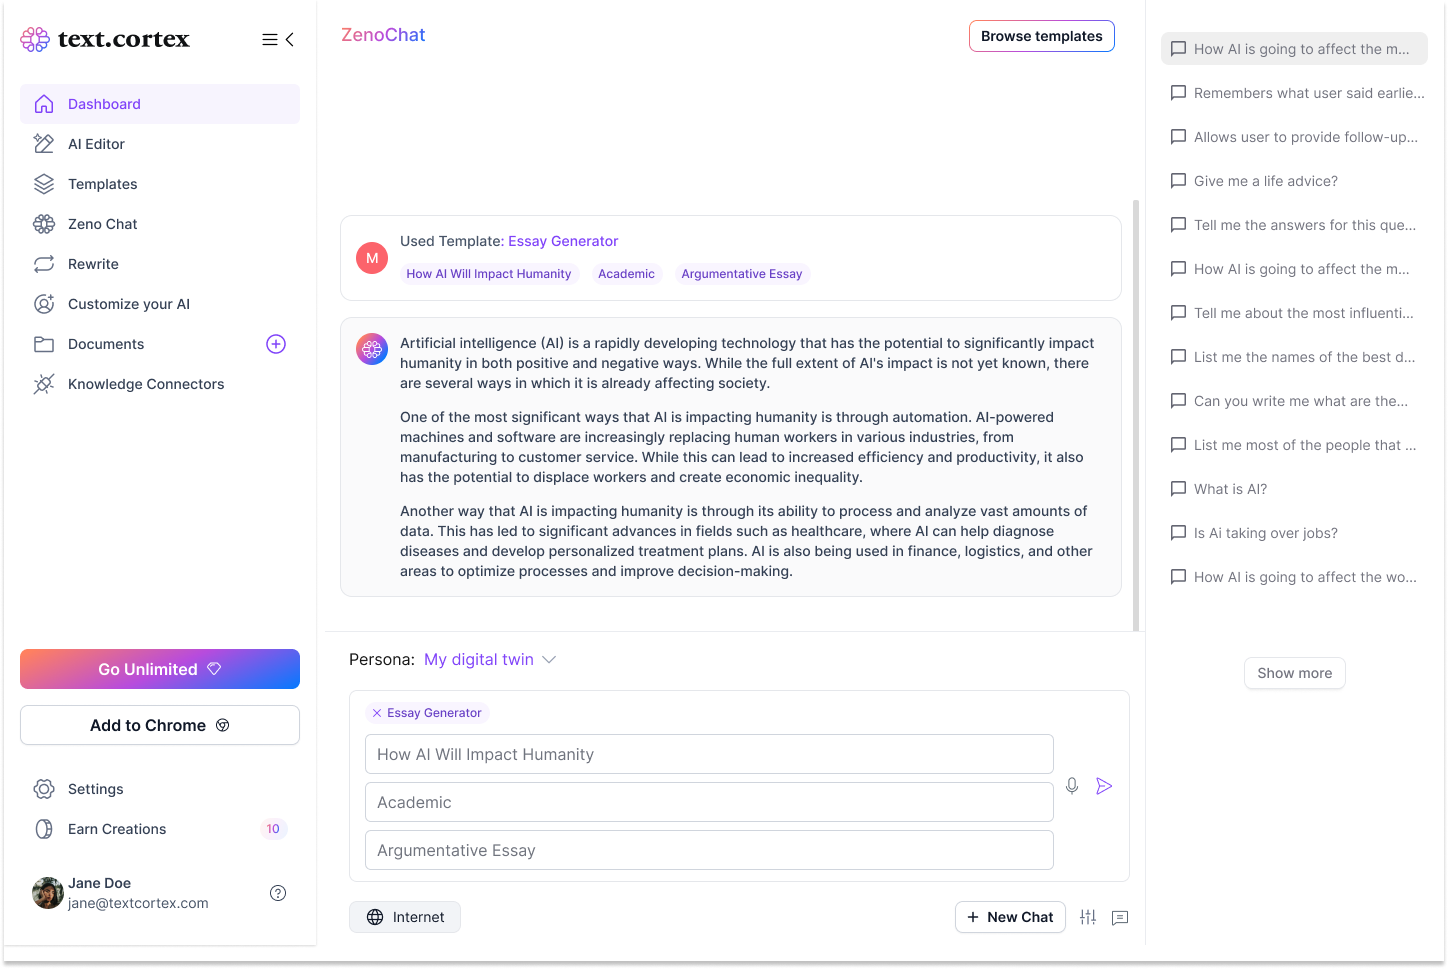
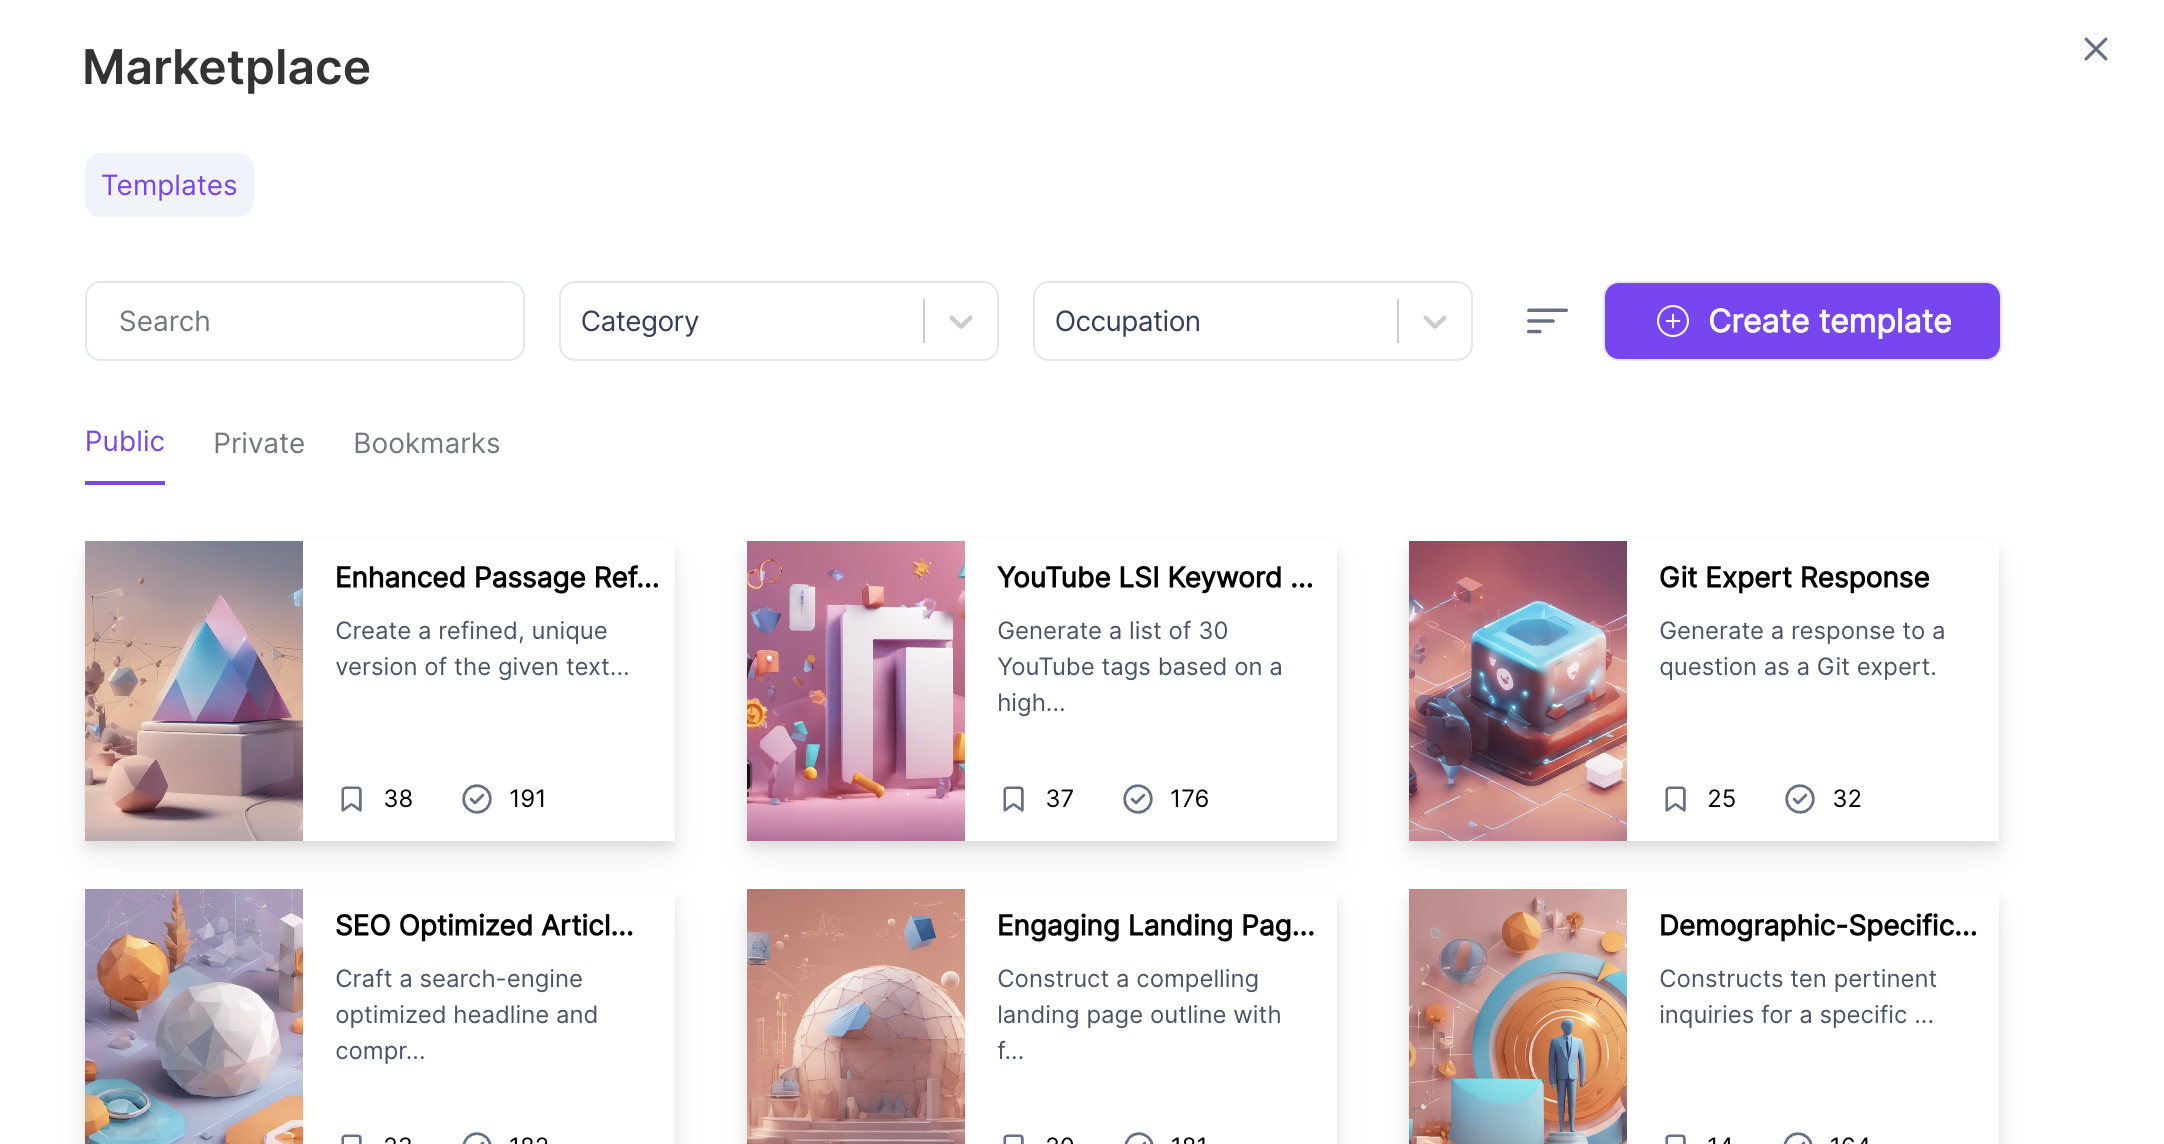
1. Simply go to ZenoChat and click on the Marketplace icon or the Browse Templates button.

2. Select the template you have just created on Private tab.
3. Fill in the input fields you have set and hit Send.
And finally, you will get the result from Zeno in no time. With Templates, you don't have to repeat the same prompts over and over again. Hope you will enjoy our new feature. Please let us know if you have any feedback so that we can improve your experience even further.

%20(60).png)

%20(13).png)
%20(18).png)